Quickstart
We’ll create a simple geometry consisting of a target and a flux detector. We will shoot protons at the target and count how many particles of each type cross the flux detector.
Create the system
Create a counter system:
system_template.py -s counter
You should see the following output:
 Writing files for experiment >examples<, system template >counter< using variations >['default']<:

  - counter.py
  - geometry.py
  - materials.py
  - README.md

  - Variations defined in counter.py:
    * default
This created a subdir called counter containing files to create the system geometry, materials, and run the simulation.
The files are already configured to create the geometry with a target and a flux detector, and to shoot protons at the target.
Use -h to see other options for system_template.py.
Create the geometry
Inside the counter directory, run counter.py to create the geometry and materials databases:
./counter.py
You should see the following output:
  ❖ Database file gemc.db does not exist
  ❖ Created new SQLite database: gemc.db

  ❖  GConfiguration for experiment <example>,  system <counter> :
	▪︎ Factory: sqlite
	▪︎ SQLite File: gemc.db
	▪︎ (Variation, Run): (default, 1)
	▪︎ Number of volumes: 2
	▪︎ Number of materials: 2
An sqlite database file gemc.db has been created containing the geometry and materials.
By default, the geometry is created for run number 1 and variation default, using the sqlite factory. Use -h to see other options.
Run gemc
Use the counter.yaml steering card and run in interactive mode (-gui):
gemc counter.yaml -gui
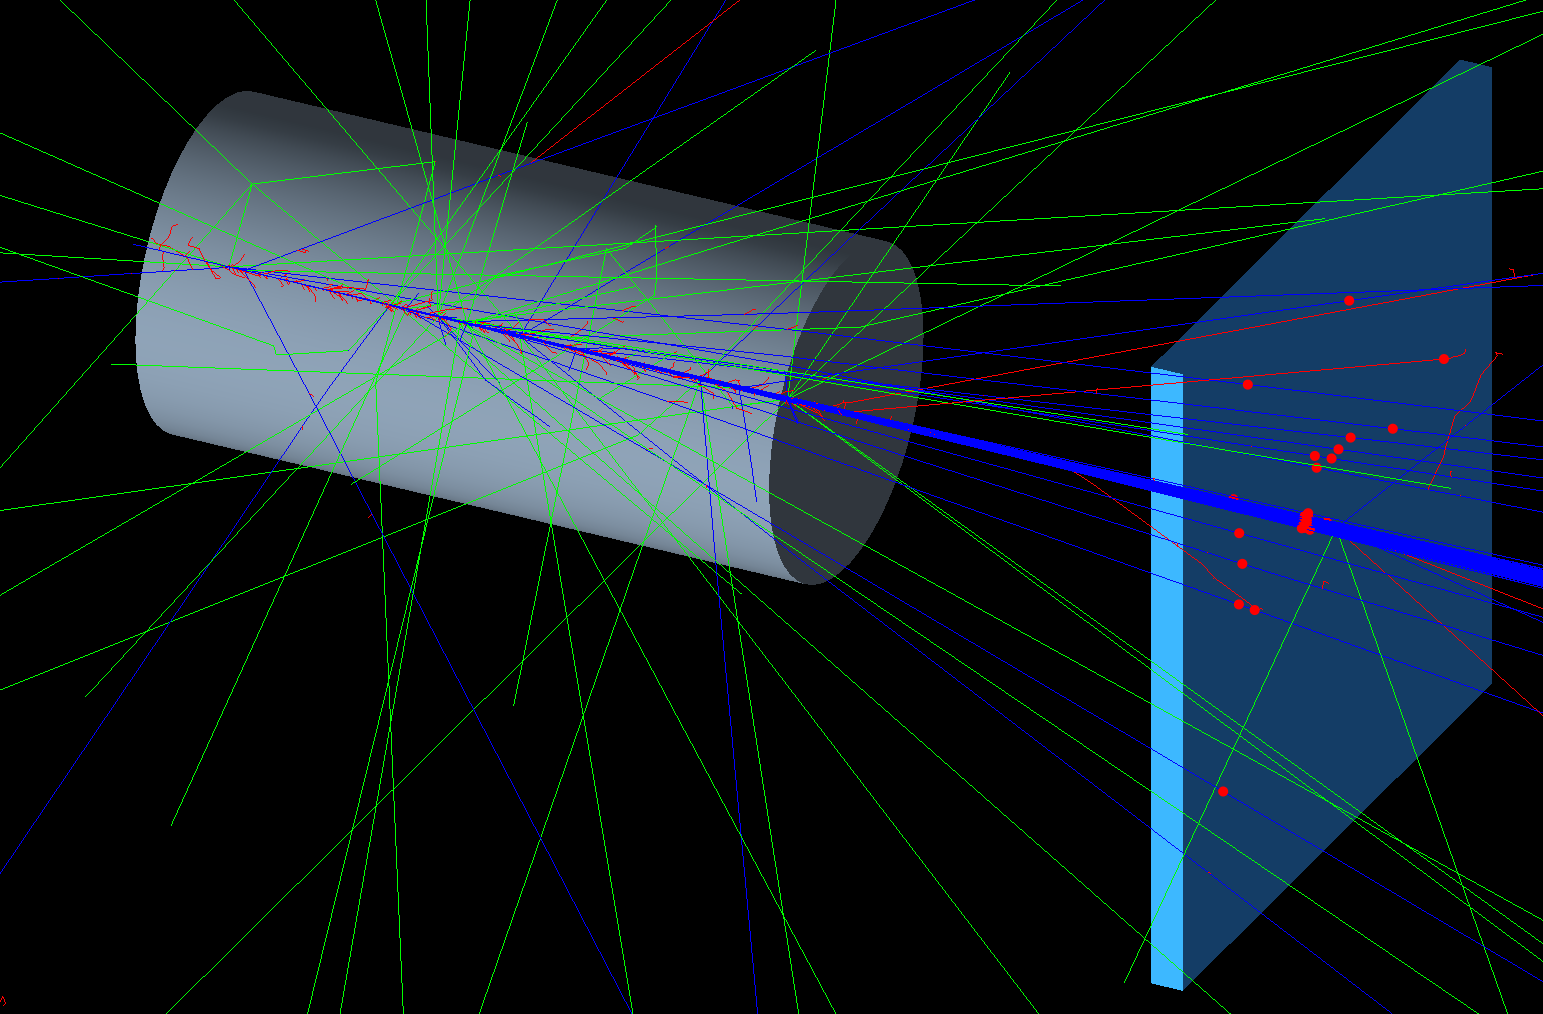
You will see the gemc GUI window. Click on the Run button (green triangle) to start the simulation. You should see a few particles
being generated and crossing the flux box, producing red hits.
The main script
The relevant lines in counter.py are:
def main():
	configuration = GConfiguration('examples', 'counter')

	define_materials(configuration)
	build_counter(configuration)
	configuration.printC()
The first one declare the counter system inside the examples experiment. See also systems documentation for more details.
The second and third lines call functions defined in materials.py and geometry.py to create the materials and geometry. Let’s take a look at them.
geometry.py
The build_counter function creates the geometry by calling these build_flux_box and build_target functions:
def build_flux_box(configuration):
	gvolume = GVolume('absorber')
	gvolume.description = 'carbon fiber box'
	gvolume.make_box(40.0, 40.0, 2.0)
	gvolume.material    = 'carbonFiber'
	gvolume.color       = '3399FF'
	gvolume.style       = 1
	gvolume.digitization = 'flux'
	gvolume.set_position(0, 0, 100)
	gvolume.set_identifier('box', 2)  # identifier for this box
	gvolume.publish(configuration)

def build_target(configuration):
	gvolume = GVolume('target')
	gvolume.description = 'epoxy target'
	gvolume.make_tube(0, 20, 40, 0, 360)
	gvolume.material    = 'epoxy'
	gvolume.publish(configuration)
Notice how the flux digitization is assigned to the flux box and how make_box and make_tube are used to create the shapes.
See also geometry documentation for more details. The two materials have custom names: they are defined in materials.py.
Notice the absence of solid, logical, and physical volumes: GEMC handles all of that internally.